Sub-Total: $0.00
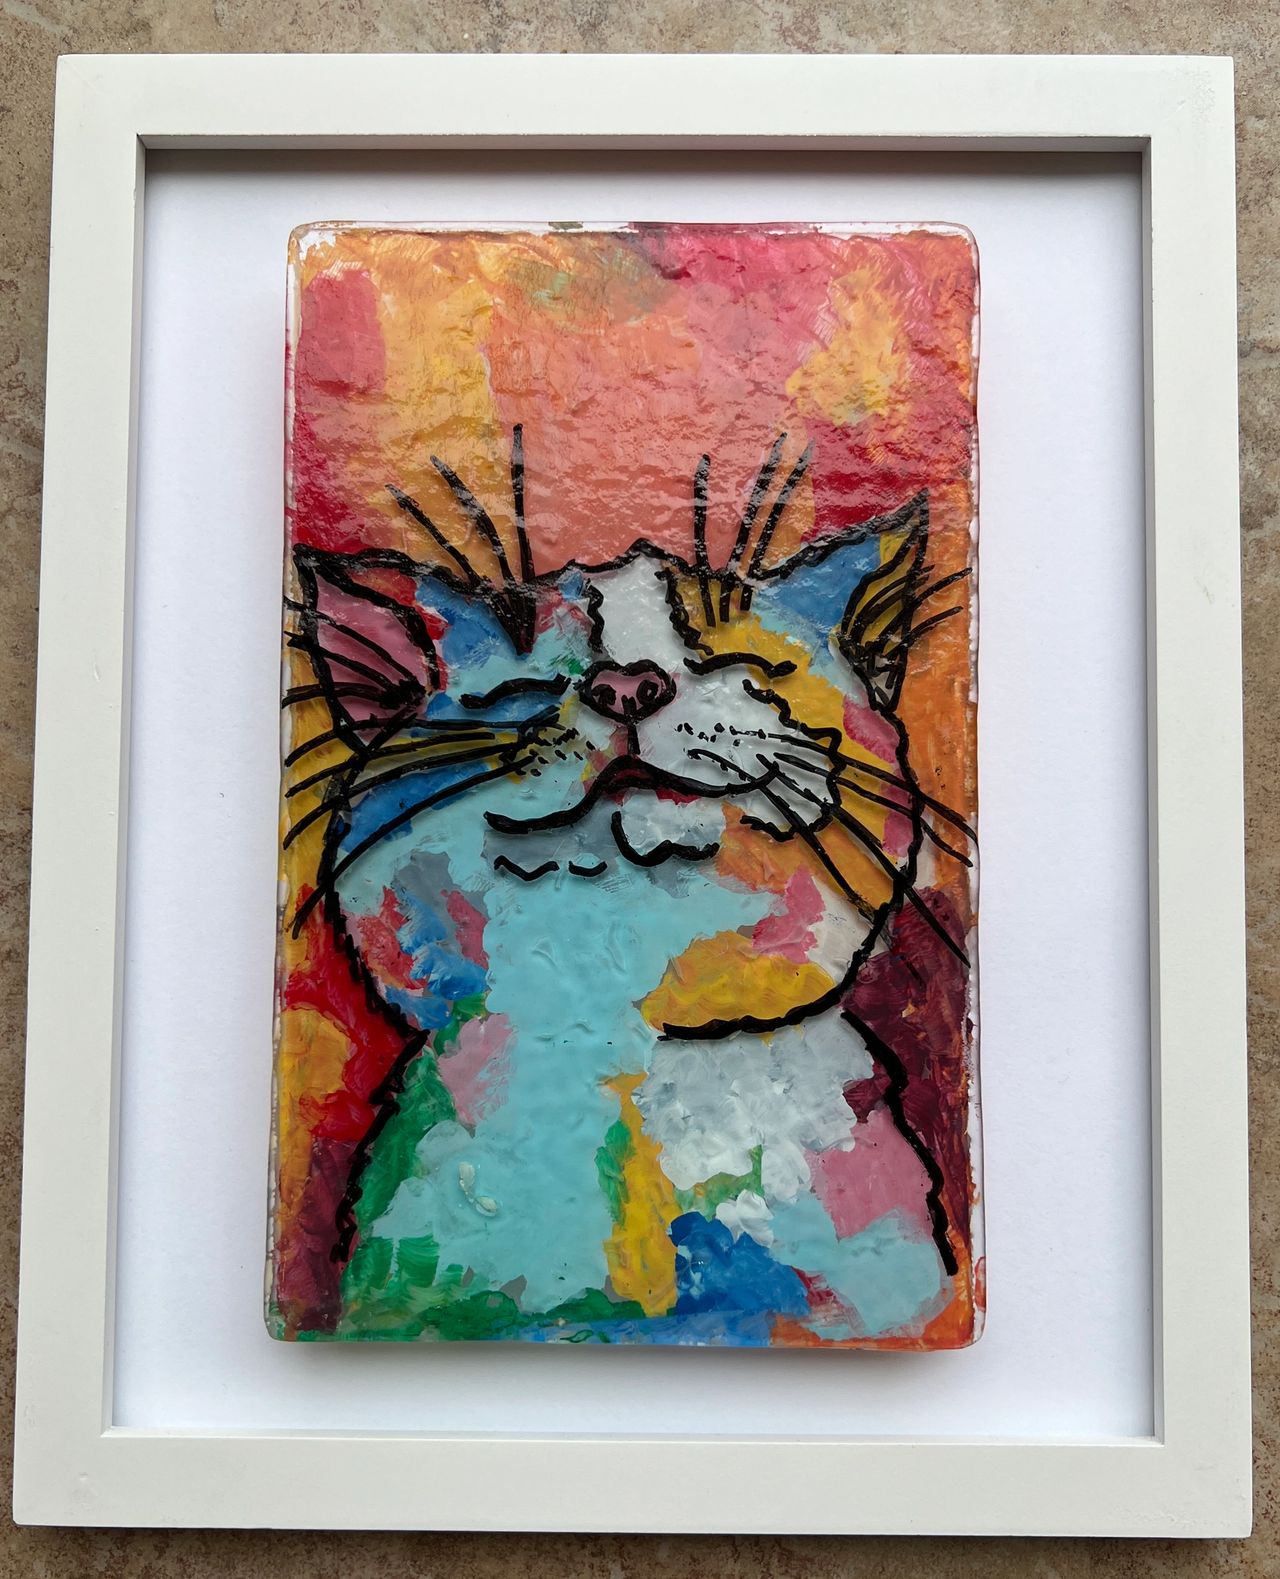
Colorful Cat by Kathie Camara

I recently found a photo of this colorful kitty and thought that it would make a great fused glass art panel. I love to recycle glass and help to save the landfills from tons of discarded glass that will probably never disintegrate.
I measured 2 5’X7″ pieces of glass from a discarded picture frame. The 2 pieces have to be cut from the same piece of glass, as different glasses are not compatible. Glass fusers know about this (COE Coefficient of Expansion), but non-fusers probably would not. I cleaned the glass very well with water and alcohol and put one piece on top of the other and placed it in my kiln for a full fuse. This melts the 2 pieces of glass together, rounds the edges, makes it stronger and sometimes gives it a little texture.
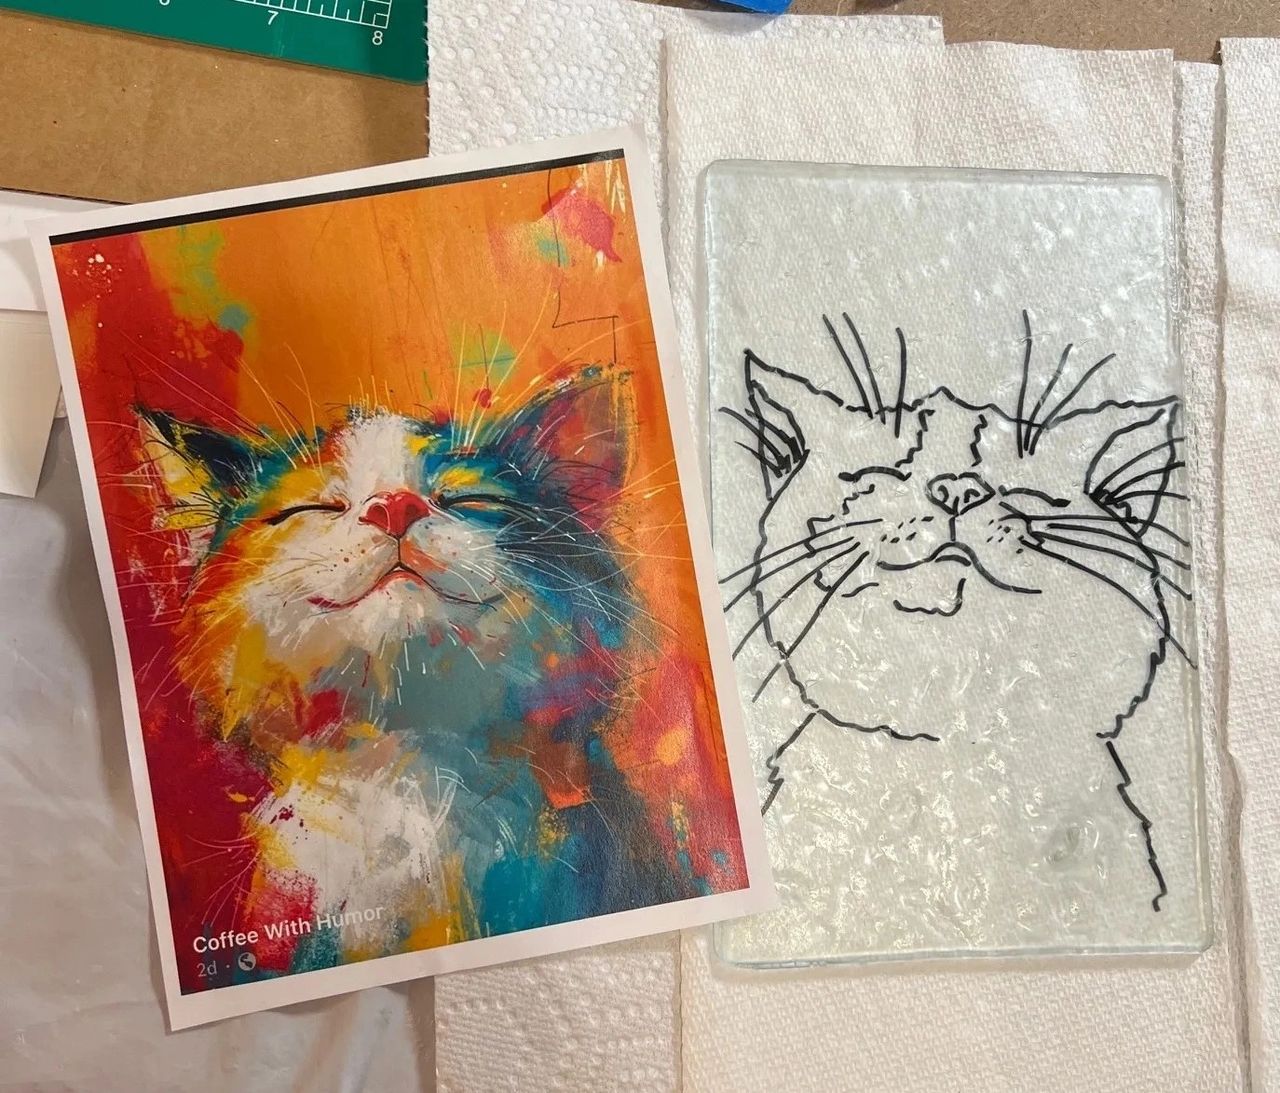
I made a pattern by taking a piece of heavy duty plastic, like a ziploc bag, placed it over the photo, taped it down, and traced the face of the cat onto the plastic with a waterproof Sharpie.
Then I turned the glass panel over and applied Etchall Cream to the back side of the entire piece of glass so it would be easier for the paint to stick to the glass.

I applied the Etchall etching cream and set my timer for 8 minutes. After 8 minutes, I moved the cream around to make sure I had applied it correctly, then I waited another 7 minutes.
With the black plastic squeegee, I scraped off the etching cream and put it back in the jar. (YES, you can reuse this cream over and over?)
I wiped the glass off with an unscented baby wipe, and polished it with a paper tower. Now it was time to wash the glass panel. Because I have a porcelain sink and the chemicals in the etching cream can etch the sink, I filled a bucket with water and soap and washed the panel off in the bucket. Then I rinsed the panel and threw the water out in the yard.

I turned the glass to the front side and traced the black lines of the pattern that is on the back. Now, I wanted to add some paint to the image, and the Etchall gave the glass just the right amount of ‘tooth’ to hold the DecoArt Glass Paint on the surface.
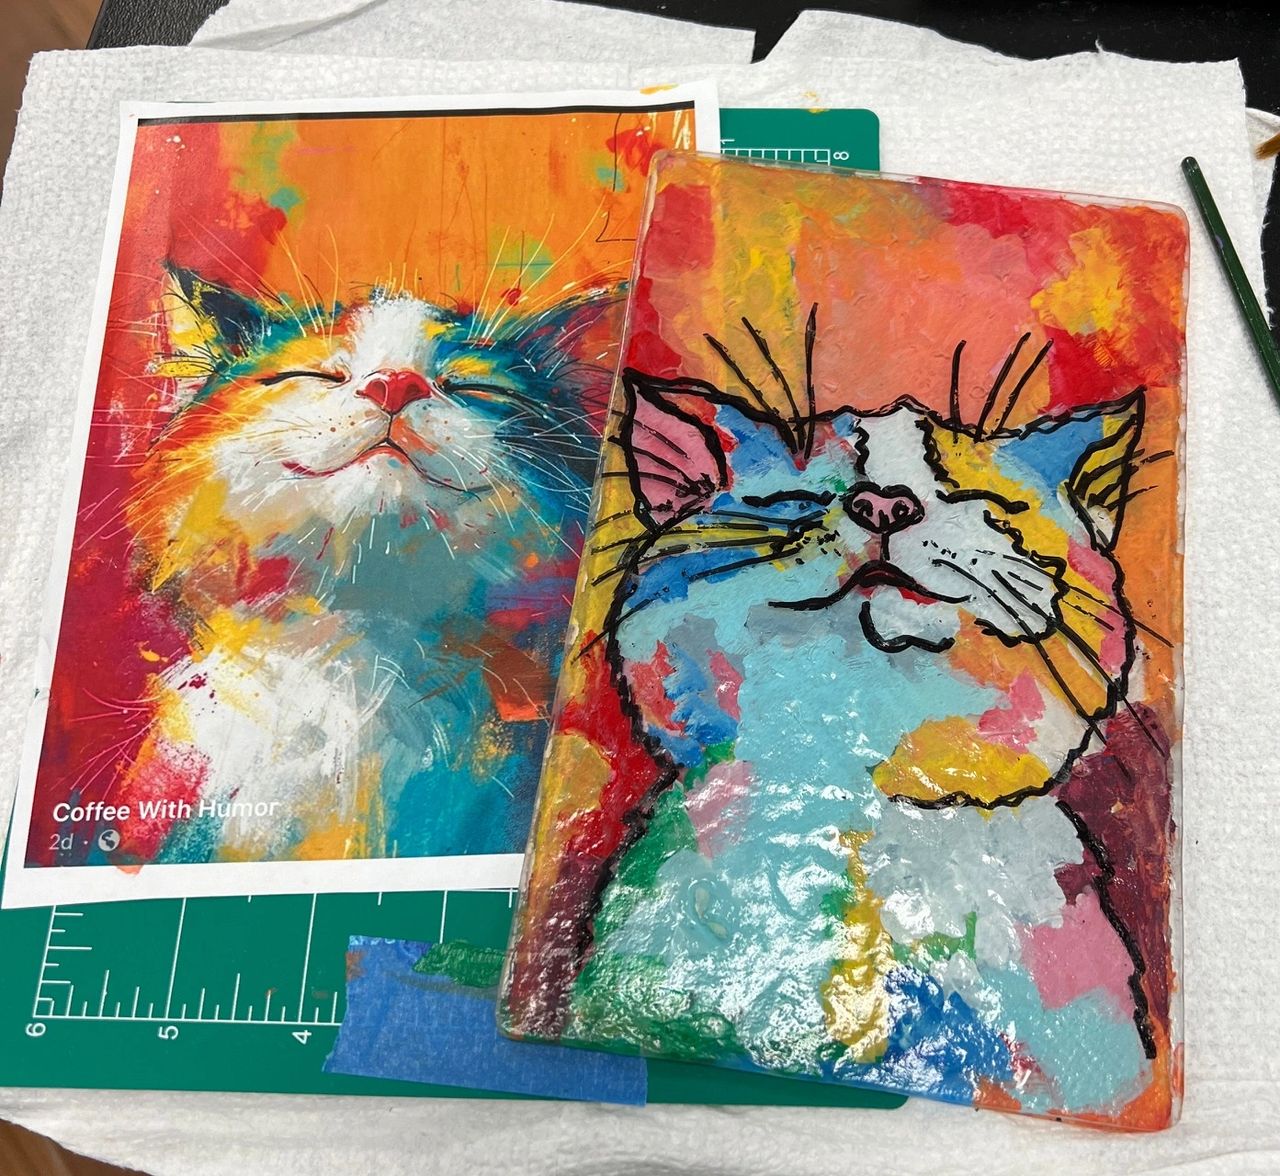
I taped the pattern on the front side of the glass, matching up the lines drawn in black, so I could see the colors on the back and let them act as my color chart. Starting with White, I just dropped puddles of paint onto the glass per the color chart. Then Yellow, Orange, Red, Blue, Green. I had fun with it. You can use whatever colors you like. After all. It is YOUR cat!

When all of the colors are painted on the glass, it looks like a big mess. Make sure you have painted all the way to the edges of the glass. Let the paint dry completely to the touch. Once it is dry, you can turn the piece over and see the magic……….
WOW! That cat is beautiful! Now, I made sure that all of the black lines were still intact and, if not, I went over them with the Sharpie. Again, this piece has to dry for a few days.
When it had dried completely, I sprayed the front with a clear gloss sealer. Here are some tips for spraying an art piece:
Spray Painting Tips:
Make sure to spray in a well ventilated area. Spray very lightly for the first coat to avoid runs. Allow piece to dry, then spray each successive coat lightly. In order to properly spray the piece, you want to overspray. Do not aim the spray at the piece, but start spraying to the left of the piece and continue to spray past the surface to the right. Take note of the temperature directions on the can. Cold spray paint will not work well. (To spray a round piece, place on a lazy susan covered with newspaper. Spray the front, turn ¼ turn, spray next section, etc. until you return to the front. Make sure you note where you started.)

The DecoArt Glass Paint can be baked in the oven OR just set aside for a couple of days to dry completely hard. I did not bake the paint, as it will be attached to a frame and it will cure on its own in a matter of days. I love this paint, as it is so creamy and the colors are bright.
I found a white frame that was bigger than the piece, 8″ X 10″. I removed the glass from the frame and put it aside to use in another project. The piece that is left for the backing of the frame can be painted white, or you can get a piece of white cardstock or another color of your choice, and glue it to the backing. I then took 4 little 1/2″ wooden blocks and glued them to the backing board in an area that would hold the glass Art away from the frame, but you could not see them. You can use super glue or an epoxy. Once the blocks are sort of set, you can add glue to the top of the blocks and place your art piece on the blocks, making sure the art is centered in the display frame. I then put a heavy book on top of the art piece until the glue is set. Now, just wire the back of the frame and you have a wonderful piece of fused glass art to hang on your wall.
Remember to always use Etchall etching cream in your projects. It was voted the BEST by crafters. You can click here to order from the Etchall site and I will get a small stipend that will help me to keep giving you these free tutorials. Thanks.

I hope you enjoy this project. Always remember to “Have A Colorful Day”